Project: Home Lab
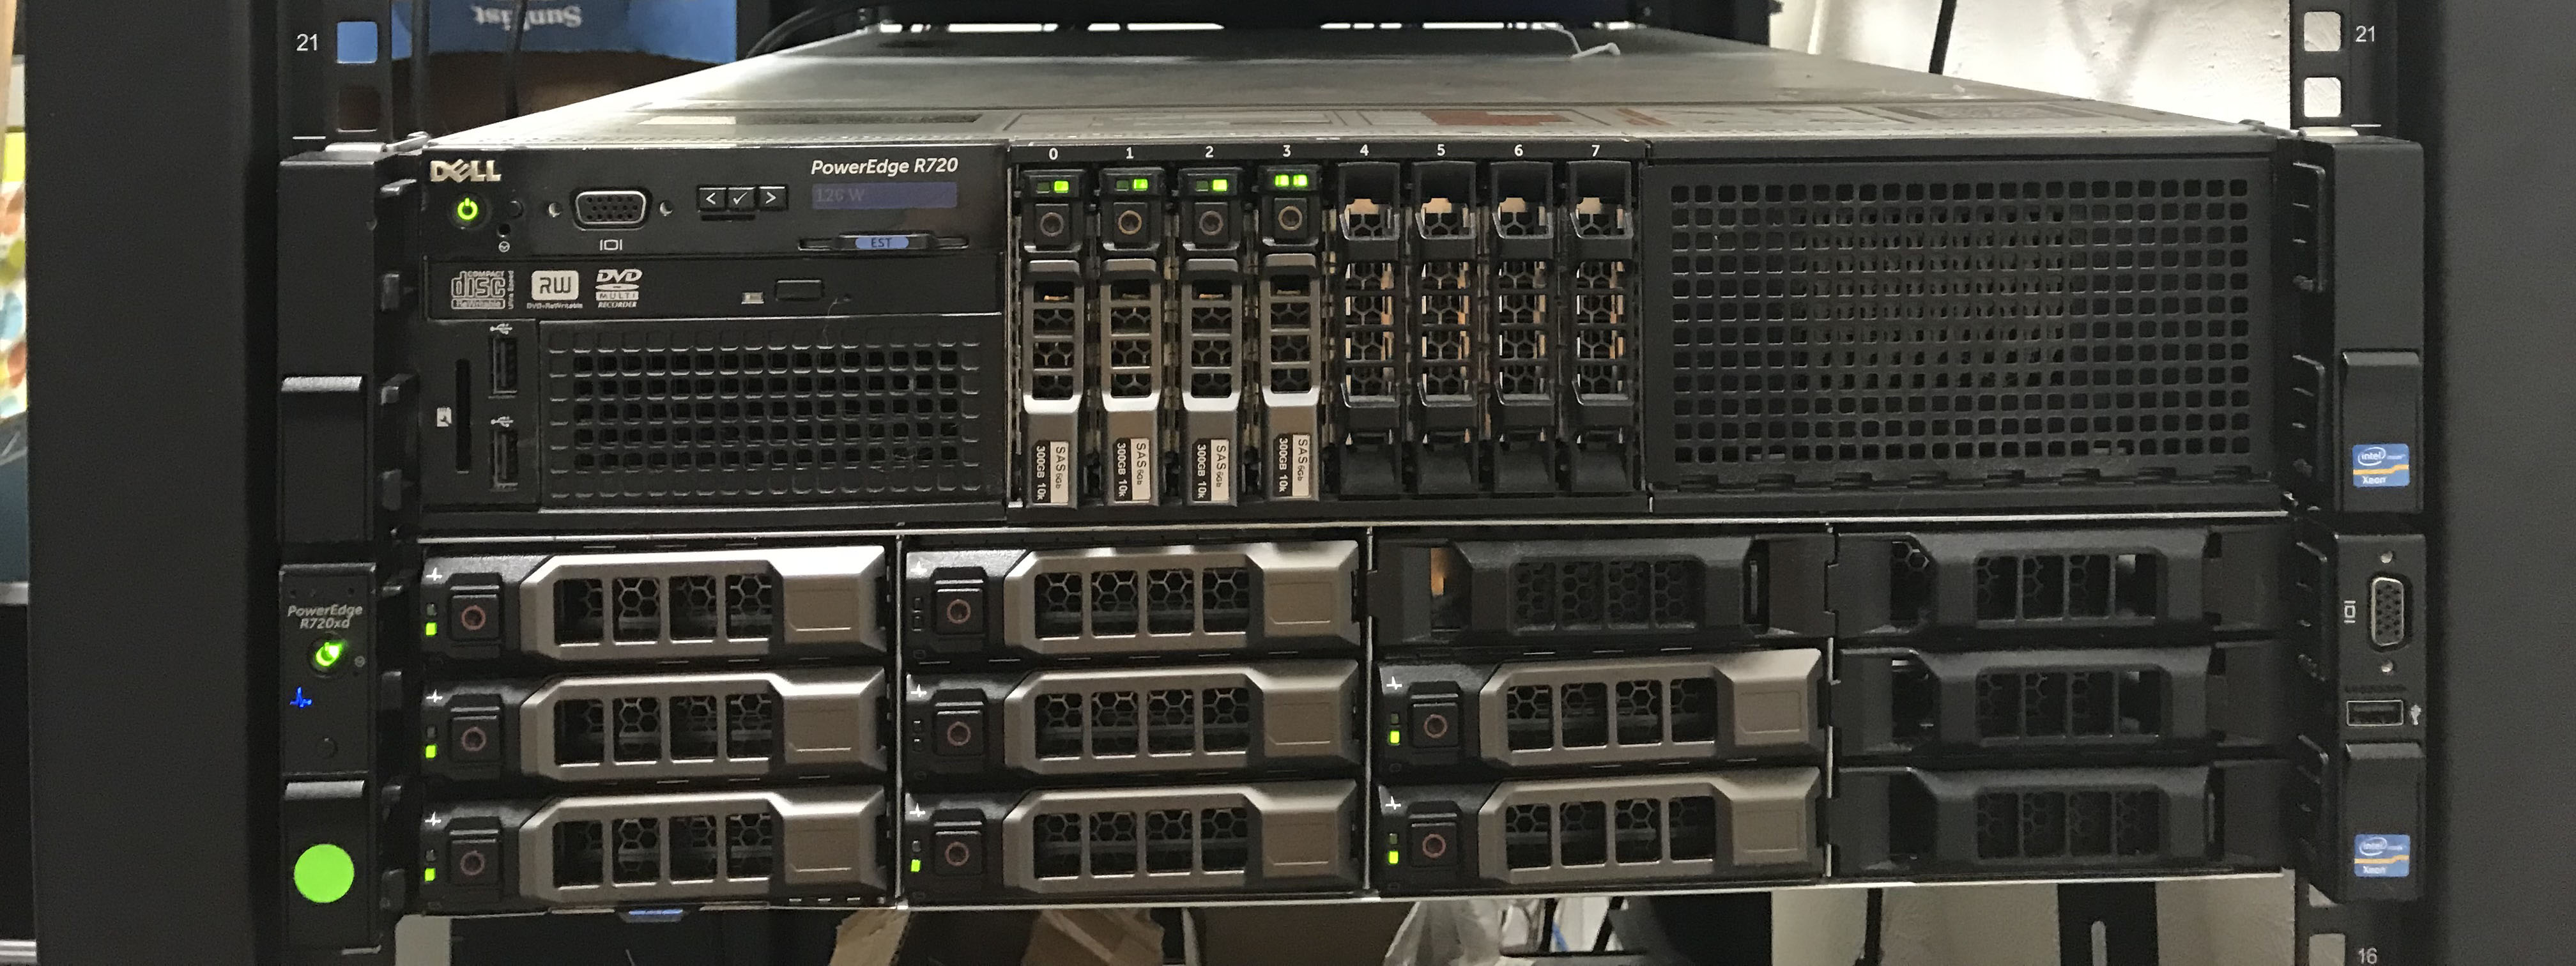
Two of my servers (top: PowerEdge R720, bottom: PowerEdge R720xd)
If you were thinking I was enough into chemistry to have my own lab at home, I’m sorry to disappoint. Instead, I’m enough into computers to have my own “home lab” where I play around with hardware and software more typically seen in business environments.
How It Started
I’d like to point out the year listed on this project: 2015. That is when I got my very first proper server: a Lenovo ThinkServer TD340. Truthfully, I had been home labbing in some fashion in the years prior on a 32-bit HP laptop with a cracked screen. At first, I mostly hosted game servers for friends to play on (Garry’s Mod, TF2, Minecraft), but I was bothered by the fact I couldn’t leave the servers on all the time, hence why I got a dedicated machine. After enjoying playing around with my ThinkServer, I gradually discovered the versitility a home server afforded. I set up a network file share, Plex server, and at one point even experiemented with self-hosting a website. Being able to host services only normally available from cloud providers was quite appealing. Needless to say, home labbing had hooked me.
The Second Server [2018]
Years later, I got an upgrade in the form of a rackmount server: a PowerEdge R720. This thing was really fancy compared to the ThinkServer. It had four gigabit ethernet ports, two power supplies, hardware RAID, and I could install an OS on it from anywhere in the world (as long as I had a VPN back home). Fancy hardware aside, this is when I decided to begin learning how to use Linux. Naturally, I installed a server version of Ubuntu, which I discovered had no GUI. I decided to struggle with only a command line; developing software on a Mac prepared me rather nicely for the challenge. Putting Linux on this machine was easily the right choice, and I haven’t looked back to Windows Server since.
The Third Server (and Switch) [2021]
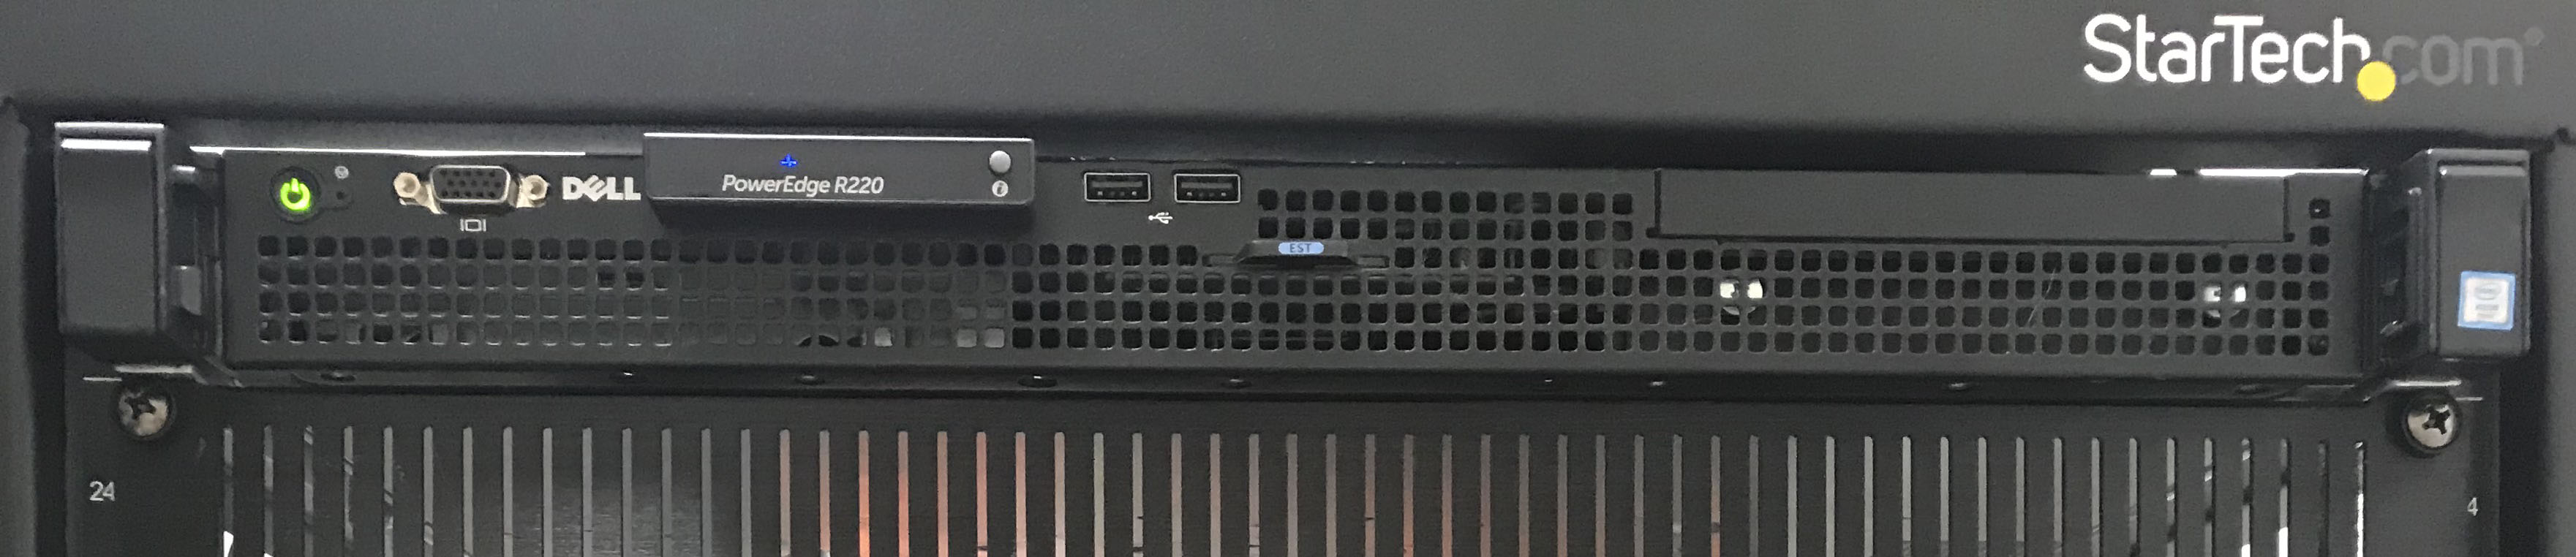
My wonderfully overpowered pfSense router
As I continued self-hosting different services, my focus turned towards network security. Believe it or not, most consumer routers aren’t particularly well suited for securing a network. My primary goal was simple: segment my network so I can secure it. I began doing loads of research on network configuration, including different software routering solutions like OPNSense, pfSense, and Untangle. I ultimately bought a cheap PowerEdge R220 on eBay and put pfSense on it. I pretty quickly also came to the realization that my unmanaged network switch would not cut it for network segmentation. I needed something that supported VLANs (802.3Q), which essentially enables a single network switch to handle multiple LANs at once. After discovering an excellent forum post about Brocade switches, I pulled the trigger on a Brocade ICX 6450-48P, which has 48 ports, is fully managed, with 750 watts of power-over-ethernet budget. It was only $100, practically a steal for the features. Between the R220 and switch, my network could be considered seriously overkill, but I prefer it that way. I also eventually switched to Unifi WiFi gear to segment my airwaves as well. For reasons other than raw performance, making the switch to bonafide networking gear was a great choice. If nothing else, I’m more familiar with how the pros do it. Of course, I learned quite a lot with the addition of my networking gear, but going into full detail would likely take hours (I have friends that can attest to this).
The Fourth Server [2022]
Around the same time I began upgrading my network, it also occurred to me that I had many years worth of data that I would hate to lose. At the time, my server data protection plan was less than ideal: one USB hard drive and RAID arrays on my servers (note: RAID is not a backup). I also had an Apple Time Machine for laptop backups, but I wanted to also phase that out (for reasons I’ll explain momentarily). Between backups and other files, my machines would need at least 8 terabytes of storage. Paying for cloud backups was an option I considered, but the cheapest rate I could find was about $5/TB/Month, not to mention data transfer costs. The need for a physical machine over cloud storage was practically dictated to me, so I needed to find something suitable. For hardware, I once again stuck with Dell and picked up a PowerEdge R720xd (which is great since I can swap parts from my R720). For software, I chose to use TrueNAS Core (a.k.a. FreeNAS). TrueNAS uses the ZFS filesystem, which was a feature I was uncertain about at first. The hierarchy of ZFS pool, vdev, physical device was somewhat bewildering, and it felt like it restricted my ability to expand my system later. Though, I soon came to love ZFS, not because it prioritized expandability, but because it prioritized data. ZFS does a great job at making sure data integrity remains intact, which is desirable for long-term file storage. ZFS also has some other features that won me over: snapshots, (fast) transparent compression, and RAID-like drive redundancy.
Properly configuring backups turned out to be rather interesting once I had the infrastructure in place. As it turns out, the security model for backing up computers influences how backups are actually taken. For my servers, since they are inherently more prone to breaches, I use pull backups. As the name suggests, the storage server connects to the machine in need of a backup and pulls the files off of it. The benefit to doing it this way is that the machine being backed up can be firewalled from the storage server (firewall mechanics still allow the storage server to connect to the remote server). One caveat to this is that the storage server has to have access credentials to each server it pulls backups from. For that reason, all of my non-server computers do push-based backups; they actively push a backup to the storage server.
Miscellaneous Machines
I have more computers than what I listed here, but most don’t have a detail-worthy role for this page. Notably, I have a Raspberry Pi running Home Assistant (maybe I’ll write a project writeup for that) and a NUC running Vaultwarden.
With that, I’ve given you a short description of my home lab. In the interest of keeping things short, I’ve omitted a lot of the specifics about what I’ve learned with each addition to my home lab. Suffice to say, I have learned lots about networking, operating systems, informed decision making (decision matrices), file systems, and software configuration. I’ll probably come back and add more to this page as I get new toys to play with. Until then, thanks for reading!
Bonus Photo
Since you made it this far, here’s the rear view:
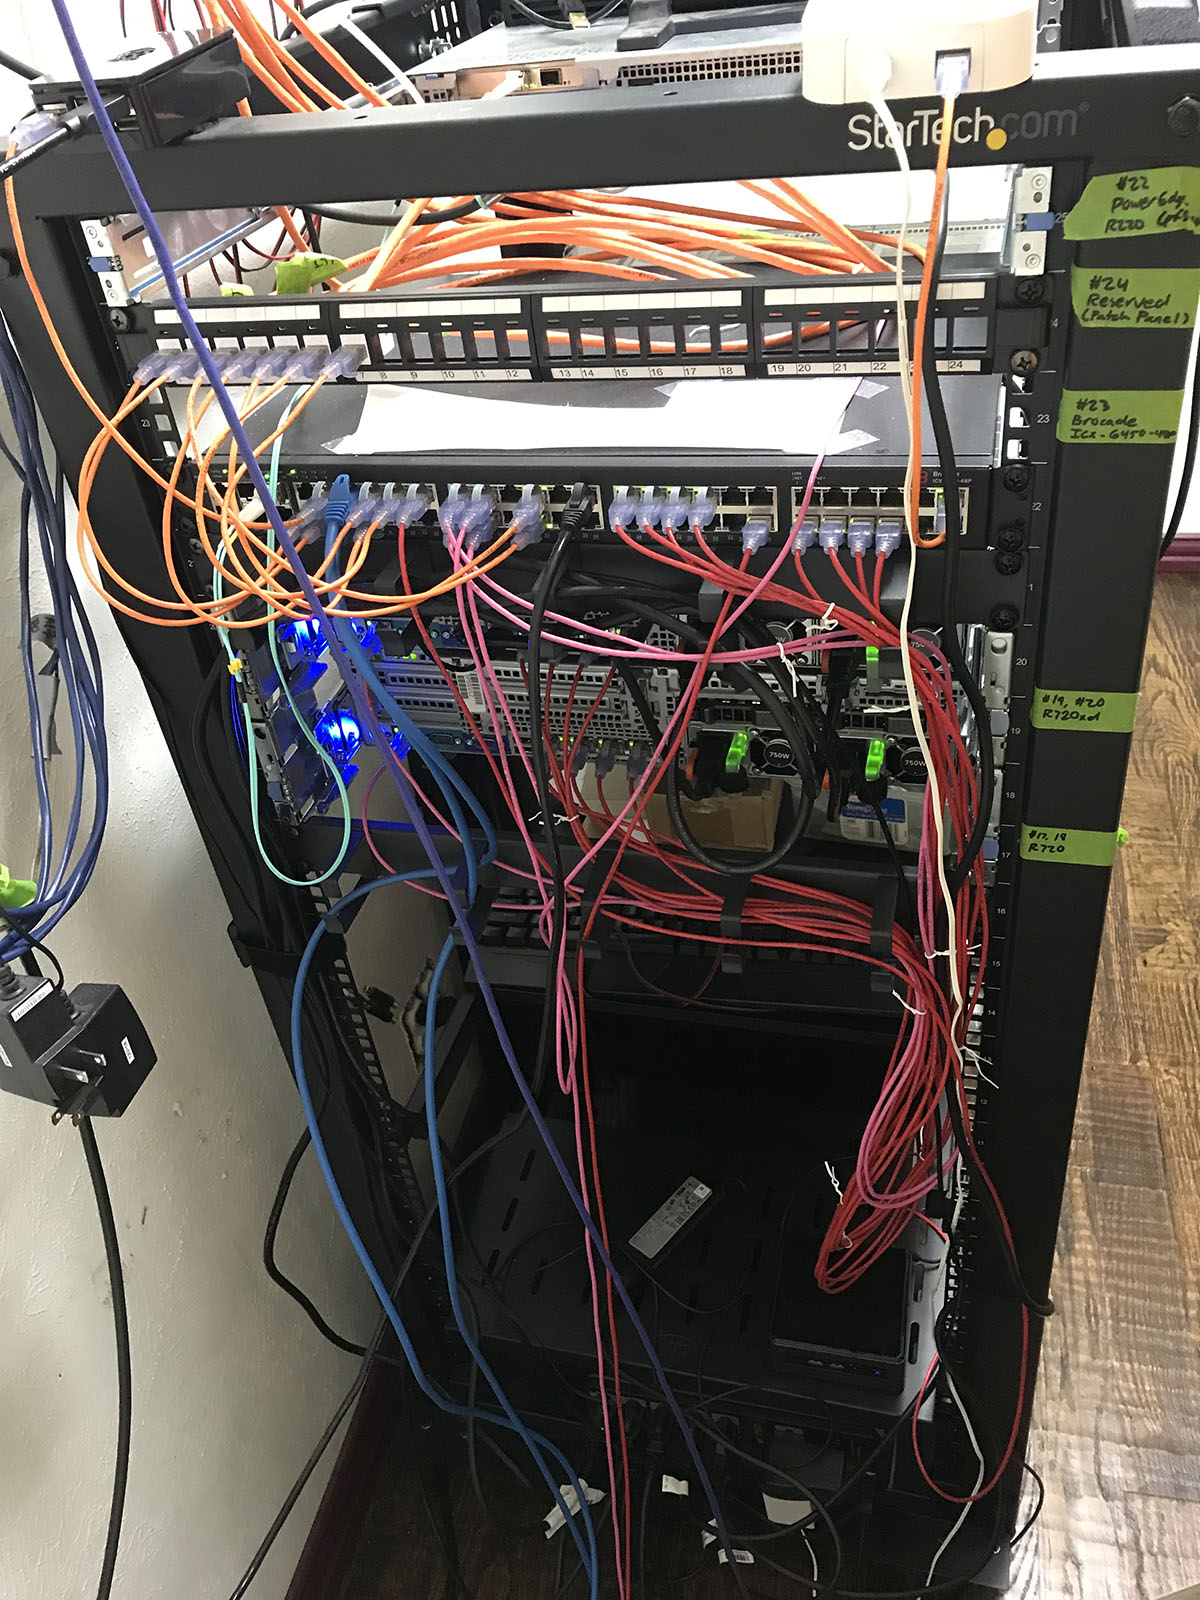
Before you contact me, I know my cable management could be better.